Views: 147 Author: Site Editor Publish Time: 2025-07-27 Origin: Site
Dot peen marking has long served industries requiring permanent, reliable, and cost-effective marking solutions. From metal parts to industrial tags, dot peen machines offer precise marking by physically indenting surfaces through a stylus. However, despite its seemingly simple mechanical principle, dot peen marking is often riddled with avoidable mistakes that can affect quality, durability, and traceability.
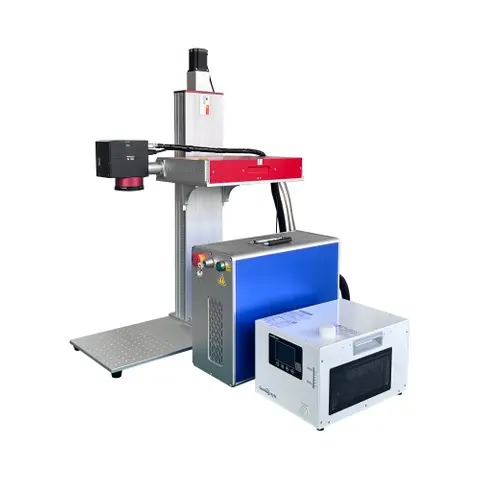
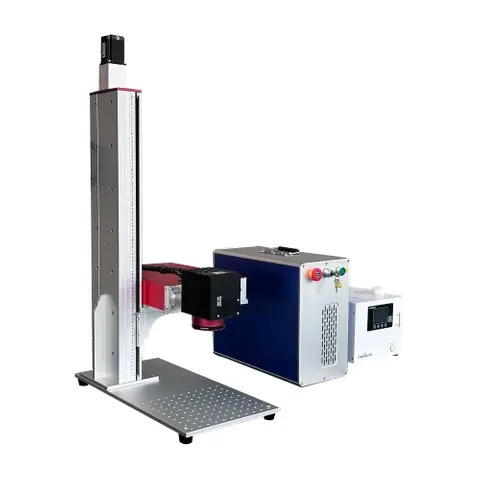
Understanding these common pitfalls is essential, especially for those integrating laser marking machines into their production lines or comparing dot peen with laser systems. This article sheds light on dot peen marking mistakes and demonstrates how modern laser marking machines can complement or surpass this method when precision and flexibility are crucial.
One of the most frequent errors in dot peen marking involves incorrect material settings. Every material—whether steel, aluminum, brass, or plastic—has unique hardness and response characteristics. Setting the wrong impact force, dwell time, or stylus frequency can lead to either faint, unreadable marks or overly deep engravings that damage the product.
For instance, marking soft aluminum using a high stylus impact setting can cause distortion or even puncture the surface. Conversely, marking hardened steel with a low setting might produce barely visible impressions. These discrepancies not only reduce legibility but may also compromise compliance with quality control or regulatory requirements.
Manufacturers should always reference a material compatibility guide and conduct initial test markings. Operators using laser marking machines enjoy a distinct advantage here: lasers can be calibrated precisely based on wavelength, power, and pulse frequency to match the material's behavior without physical contact, minimizing deformation risks.

Another critical issue in dot peen systems is misalignment, often stemming from human error or poorly maintained workpiece fixtures. If a part shifts during marking, or if it's not properly centered, the result is inconsistent dot spacing or uneven character depth, making the code unreadable by scanners or human eyes.
Additionally, variation in surface height or part geometry can lead to inconsistent marking depth. This is especially problematic in sectors like aerospace or automotive, where precise Data Matrix codes are mandatory.
Proper jig design, fixture tightening protocols, and the use of vision systems for alignment checks can mitigate this issue. When possible, automation should replace manual setups. Comparatively, laser marking machines can incorporate auto-focus and vision-guided alignment, drastically reducing the risk of misalignment—even on curved or irregular surfaces.
Dot peen systems rely heavily on the condition of the marking stylus. Over time, the stylus tip wears down, reducing marking sharpness and consistency. Additionally, dust, debris, and oil buildup can obstruct marking heads and linear guides, leading to machine vibration, erratic motion, or equipment failure.
Neglecting scheduled maintenance can also cause air pressure inconsistencies (in pneumatic dot peen systems), leading to reduced impact force or operational delays.
Establishing a preventive maintenance schedule is key. Clean and lubricate all moving components regularly. Replace styluses at recommended intervals, and monitor compressed air supply quality. For facilities needing minimal maintenance, laser marking machines offer a cleaner alternative. With no physical contact or wear-prone components, laser systems require significantly less upkeep, making them ideal for high-throughput environments.
When dot peen systems are operated manually, there's always a risk of human error—especially when operators must enter serial numbers, batch codes, or timestamps manually. One digit off, and a part might be rendered untraceable or non-compliant.
Data inconsistency can have severe consequences. Imagine a mislabeled engine part in the automotive sector or an incorrect serial number on aerospace components. The cost of recall, liability, and brand damage can be astronomical.
Integrating dot peen systems with enterprise software (ERP, MES, WMS) can reduce errors significantly. Automated data input ensures that the correct information is marked in real-time. Even better, laser marking machines often come with advanced software suites that support dynamic code generation, barcode verification, and real-time production tracking—features that drastically minimize human-induced mistakes.
Here's a comparison table for clarity:
| Feature | Dot Peen Marking | Laser Marking Machine |
|---|---|---|
| Manual Input Required | Often | Rare |
| Data Integration | Optional | Standard |
| Real-Time Code Adjustment | Limited | Fully Supported |
| Verification Tools | Manual or Semi-automated | Automated Vision Systems |
While dot peen technology is robust and relatively low-cost, it's not suitable for every application. For instance, delicate or highly reflective surfaces can be easily damaged by mechanical marking. Additionally, dot peen is often unsuitable for high-speed production lines where cycle time per unit is tightly controlled.
In sectors demanding micro-marking, extremely high contrast, or ultra-fine detail—such as electronics, jewelry, or medical device manufacturing—dot peen may fall short.
In these cases, laser marking machines offer unmatched flexibility. They can mark on virtually any material—metal, plastic, ceramic, even glass—without altering the part's structural integrity. With adjustable power, speed, and frequency, lasers can perform anything from deep engraving to delicate etching, all with high repeatability and minimal setup changeover.

Certain industries, such as defense, aerospace, and pharmaceuticals, mandate specific marking standards. These can include minimum character size, contrast ratio, durability under heat or chemical exposure, and scannability requirements. Using dot peen marking without verifying compliance with such standards can lead to certification failures, production rejections, or worse—legal penalties.
For example, marking a surgical instrument without proper UDI (Unique Device Identification) formatting could breach FDA regulations. Similarly, aircraft components require dot codes readable even after decades of exposure.
Before deploying any marking system, cross-reference its capabilities against relevant standards like MIL-STD-130, ISO/IEC 29158, or GS1. Where dot peen falls short—especially in contrast or longevity—laser marking machines provide a path to full compliance. With precise control over mark depth and permanence, and compatibility with inline verification systems, lasers ensure every mark meets regulatory scrutiny.
Yes, dot peen is still widely used for metal marking applications where budget and durability are primary concerns. However, for applications requiring high speed, aesthetic quality, or strict traceability, laser marking machines are often preferred.
In many cases, yes. Laser systems offer non-contact marking, faster speeds, and greater flexibility. However, dot peen may still be ideal for certain rugged applications, especially in harsh environments where deep, physical indentation is required.
Sectors like electronics, medical devices, automotive, aerospace, and jewelry all benefit from laser marking's precision, clean operation, and high-contrast capabilities.
Dot peen marking systems remain a staple in many industrial applications, valued for their simplicity and permanence. However, as we've seen, they are not without their vulnerabilities. From mechanical misalignment to human error and maintenance neglect, dot peen systems require vigilance to operate optimally.
Understanding these common mistakes—and implementing solutions or alternatives like laser marking machines—can elevate your production quality, ensure compliance, and future-proof your marking operations. As industries evolve, so must our tools and practices. Whether you're looking to upgrade your current setup or optimize your existing marking process, avoiding these mistakes is the first step toward precision, reliability, and efficiency in industrial marking.